06 Road King Solo Seat: A Comprehensive Guide
When it comes to customizing your Harley-Davidson motorcycle, the 06 Road King Solo Seat is a standout option. This seat is not just a piece of motorcycle equipment; it’s a statement of style and comfort. In this detailed guide, we’ll delve into the various aspects of the 06 Road King Solo Seat, including its design, comfort, installation, and maintenance.
Design and Aesthetics
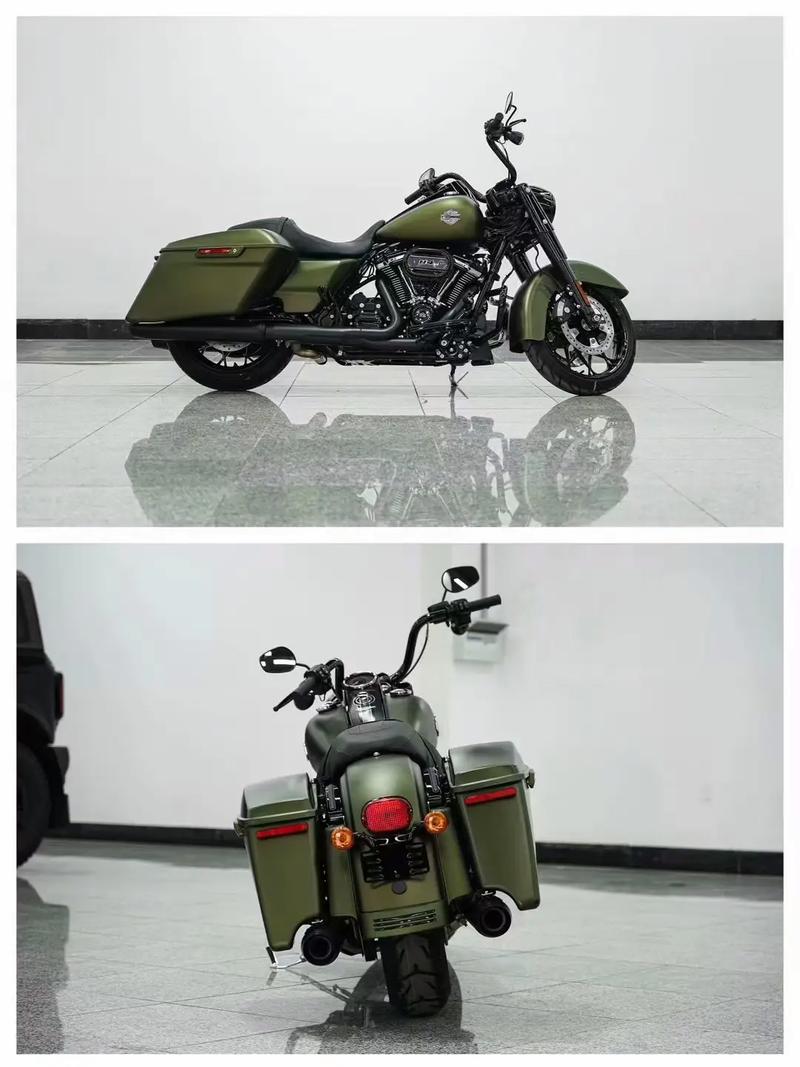
The 06 Road King Solo Seat is a masterpiece of design. It features a sleek, modern look that complements the classic Harley-Davidson aesthetic. The seat is available in a variety of colors and materials, allowing riders to choose one that best suits their taste and the overall look of their motorcycle.
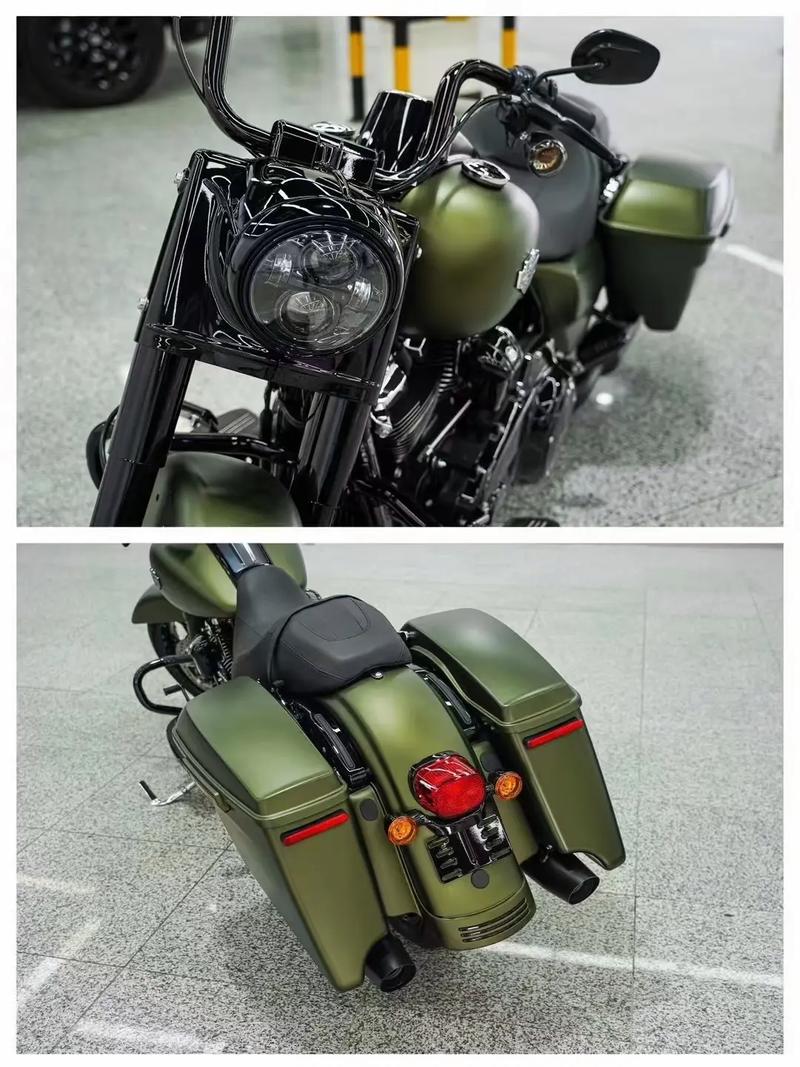
One of the standout features of the seat is its ergonomic design. The contours are carefully crafted to provide maximum comfort for the rider, ensuring a comfortable ride for long distances. The seat also features a subtle Harley-Davidson logo, adding to its distinctive look.
Comfort and Support
Comfort is a top priority when it comes to motorcycle seats, and the 06 Road King Solo Seat does not disappoint. The seat is designed with the rider’s comfort in mind, featuring a plush, foam cushion that conforms to the rider’s body. This helps to reduce fatigue and improve overall riding experience.
The seat also provides excellent support, thanks to its sturdy construction. The base is made from high-quality materials that can withstand the rigors of daily riding. Whether you’re on a short trip or a long journey, the 06 Road King Solo Seat ensures that you stay comfortable and supported throughout.
Installation Process
Installing the 06 Road King Solo Seat is a straightforward process, although it may require some basic mechanical skills. Here’s a step-by-step guide to help you through the installation:
- Remove the existing seat from your Harley-Davidson motorcycle.
- Position the new seat on the motorcycle frame, ensuring it is properly aligned.
- Secure the seat to the motorcycle frame using the provided bolts and washers.
- Connect the seat’s electrical components, if applicable.
- Adjust the seat height and angle to your preference.
It’s important to note that if you’re not comfortable performing the installation yourself, it’s best to seek the assistance of a professional. Incorrect installation can lead to safety issues and damage to your motorcycle.
Maintenance and Care
Like any motorcycle component, the 06 Road King Solo Seat requires regular maintenance and care to ensure its longevity and performance. Here are some tips to help you keep your seat in top condition:
- Clean the Seat: Regularly clean the seat with a mild soap and water solution. Avoid using harsh chemicals or abrasive cleaners, as they can damage the material.
- Protect the Seat: Apply a protective coating to the seat to help prevent UV damage and wear. This is especially important if you frequently ride in sunny conditions.
- Check for Wear: Periodically inspect the seat for signs of wear, such as cracks or tears. Address any issues promptly to prevent further damage.
Conclusion
The 06 Road King Solo Seat is a fantastic addition to any Harley-Davidson motorcycle. Its combination of style, comfort, and durability makes it a popular choice among riders. By following the installation and maintenance guidelines outlined in this guide, you can ensure that your seat remains in excellent condition for years to come.
| Feature | Description |
|---|---|
| Design | Sleek, modern look with ergonomic contours for comfort |
| Comfort | Plush foam cushion for maximum comfort and support |
| Installation | Simple installation process with basic mechanical skills |
| Maintenance | Regular cleaning and protective coating for longevity |