
1 Midcorke Sole Replacement: A Comprehensive Guide
Are you looking to replace the sole of your midcorke shoe? Whether it’s due to wear and tear, damage, or simply a desire for a new look, understanding the process and options available is crucial. In this detailed guide, we’ll explore everything you need to know about replacing the sole of your midcorke shoe, from the materials used to the steps involved in the process.
Understanding Midcorke Soles
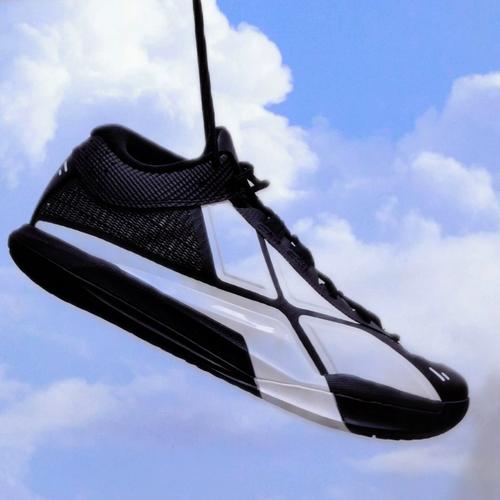
The midcorke sole is a popular choice for shoes due to its durability and comfort. Made from a combination of cork and rubber, these soles offer a unique blend of natural materials and modern technology. The cork provides cushioning and shock absorption, while the rubber adds durability and grip.

Materials Used in Sole Replacement
When it comes to sole replacement, there are several materials to consider. Here’s a breakdown of the most common options:
| Material | Description | Pros | Cons |
|---|---|---|---|
| Cork | A natural, sustainable material that provides cushioning and shock absorption. | Comfortable, eco-friendly | May not be as durable as other materials |
| Rubber | A synthetic material that offers excellent durability and grip. | Durable, long-lasting | May not be as comfortable as cork |
| EVA (Ethylene-Vinyl Acetate) | A lightweight, flexible material that is often used in sports shoes. | Lightweight, shock-absorbent | May not be as durable as rubber |
| Urethane | A synthetic material that offers a balance between comfort and durability. | Comfortable, durable | May not be as eco-friendly as cork |
Steps for Sole Replacement
Now that you understand the materials, let’s dive into the steps involved in replacing the sole of your midcorke shoe:
-
Remove the old sole. Use a flathead screwdriver or sole puller to carefully remove the old sole from the shoe. Be sure to remove any remaining adhesive or glue.
-
Clean the shoe. Use a damp cloth to clean the bottom of the shoe, removing any dirt or debris. Allow the shoe to dry completely.
-
Select the new sole. Choose a sole that matches the style and material of your original sole. Consider the activities you’ll be using the shoe for to determine the appropriate material.
-
Apply adhesive. Apply a thin layer of adhesive to the bottom of the shoe and the new sole. Be sure to cover the entire surface area.
-
Attach the new sole. Press the new sole onto the bottom of the shoe, ensuring it is properly aligned. Use a roller or your hands to press the sole firmly into place.
-
Allow the adhesive to cure. Follow the manufacturer’s instructions for curing time. This may take anywhere from a few hours to a full day.
-
Trim the sole. Use a pair of scissors or a sole trimmer to trim the excess material from the new sole, ensuring a clean and even edge.
Professional vs. DIY Sole Replacement
Deciding whether to replace the sole of your midcorke shoe yourself or take it to a professional depends on several factors:
-
Experience: If you have experience working with shoes and are confident in your ability to perform the task, a DIY approach may be suitable.
-
Time: Replacing the sole yourself can be a time-consuming process, so consider your schedule and availability.
-
Cost: DIY sole replacement can be more cost-effective, but if you’re not confident in your abilities, the potential for damage may outweigh the savings.
-
Quality: A