
03 Solara Rear Hub Replacement: A Comprehensive Guide
When it comes to maintaining your 2003 Toyota Solara, one of the critical components you need to keep an eye on is the rear hub. Over time, rear hubs can wear out, leading to issues such as loose wheel bearings, uneven tire wear, and even potential accidents. In this article, we will delve into the process of replacing the rear hub on your 03 Solara, covering everything from tools and materials needed to the step-by-step procedure.
Tools and Materials Needed
Before you begin the rear hub replacement process, ensure you have the following tools and materials:

| Tool/Item | Description |
|---|---|
| Socket Set | Standard sockets for removing lug nuts and hub bolts |
| Wrench Set | Adjustable wrenches for loosening and tightening nuts and bolts |
| Hub Installer | Special tool for installing and removing rear hubs |
| Grease Gun | Used to apply grease to wheel bearings and hub assembly |
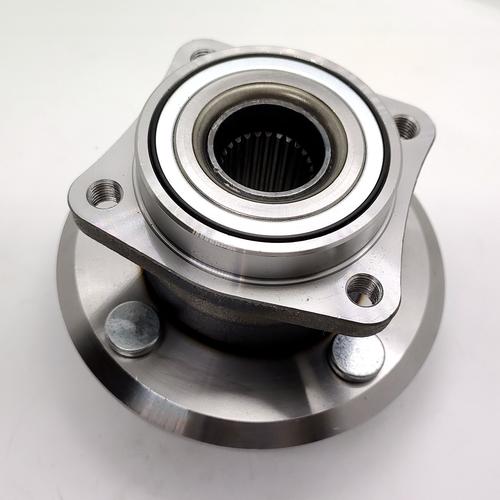
| New Rear Hub | Ensure it is compatible with your 2003 Toyota Solara |
| Grease | High-quality wheel bearing grease |
Now that you have all the necessary tools and materials, let’s move on to the step-by-step process of replacing the rear hub on your 03 Solara.
Step 1: Jack Up the Vehicle
Begin by safely jacking up your 2003 Toyota Solara. Place jack stands under the vehicle to ensure stability. Remove the wheel and tire assembly from the affected side.
Step 2: Remove the Wheel Hub Assembly
Using a socket set, remove the lug nuts and wheel. Once the wheel is off, you will need to remove the brake caliper. Locate the bolts holding the caliper in place and remove them using an adjustable wrench. Slide the caliper off the rotor and set it aside.
Next, locate the hub bolts at the bottom of the rotor. These bolts secure the hub assembly to the vehicle. Use a socket set to remove these bolts. Once the bolts are loose, you can remove the hub assembly from the vehicle.
Step 3: Install the New Rear Hub
Take your new rear hub and apply a small amount of grease to the hub bolts. This will help prevent corrosion and make it easier to remove the hub in the future. Place the new hub into the rotor and start threading the bolts by hand.
Once the bolts are hand-tightened, use a socket set to tighten them further. Be sure to torque the bolts to the manufacturer’s specifications, which can typically be found in the vehicle’s service manual.
Step 4: Reinstall the Brake Caliper and Wheel
Reinstall the brake caliper by threading the bolts back into place and tightening them with an adjustable wrench. Be careful not to damage the brake pads or rotors. Once the caliper is secure, place the wheel and tire assembly back onto the vehicle and tighten the lug nuts by hand.
Step 5: Lower the Vehicle and Check for Proper Functionality
Lower the vehicle and remove the jack stands. Finish tightening the lug nuts with a socket set, ensuring they are properly torqued. Test the vehicle to ensure the new rear hub is functioning correctly and there are no unusual noises or vibrations.
By following these steps, you should now have successfully replaced the rear hub on your 2003 Toyota Solara. Regular maintenance and timely replacements of critical components like the rear hub can help ensure the safety and reliability of your vehicle.